In the mailing overview, you can label, sort, and filter your mailings, or search them using the free text field.
Your list name will not be displayed: You cannot see your list name from Inxmail Professional in Inxmail New Xperience.
Step by step
-
Open the
 "Mailings" navigation item.
 -
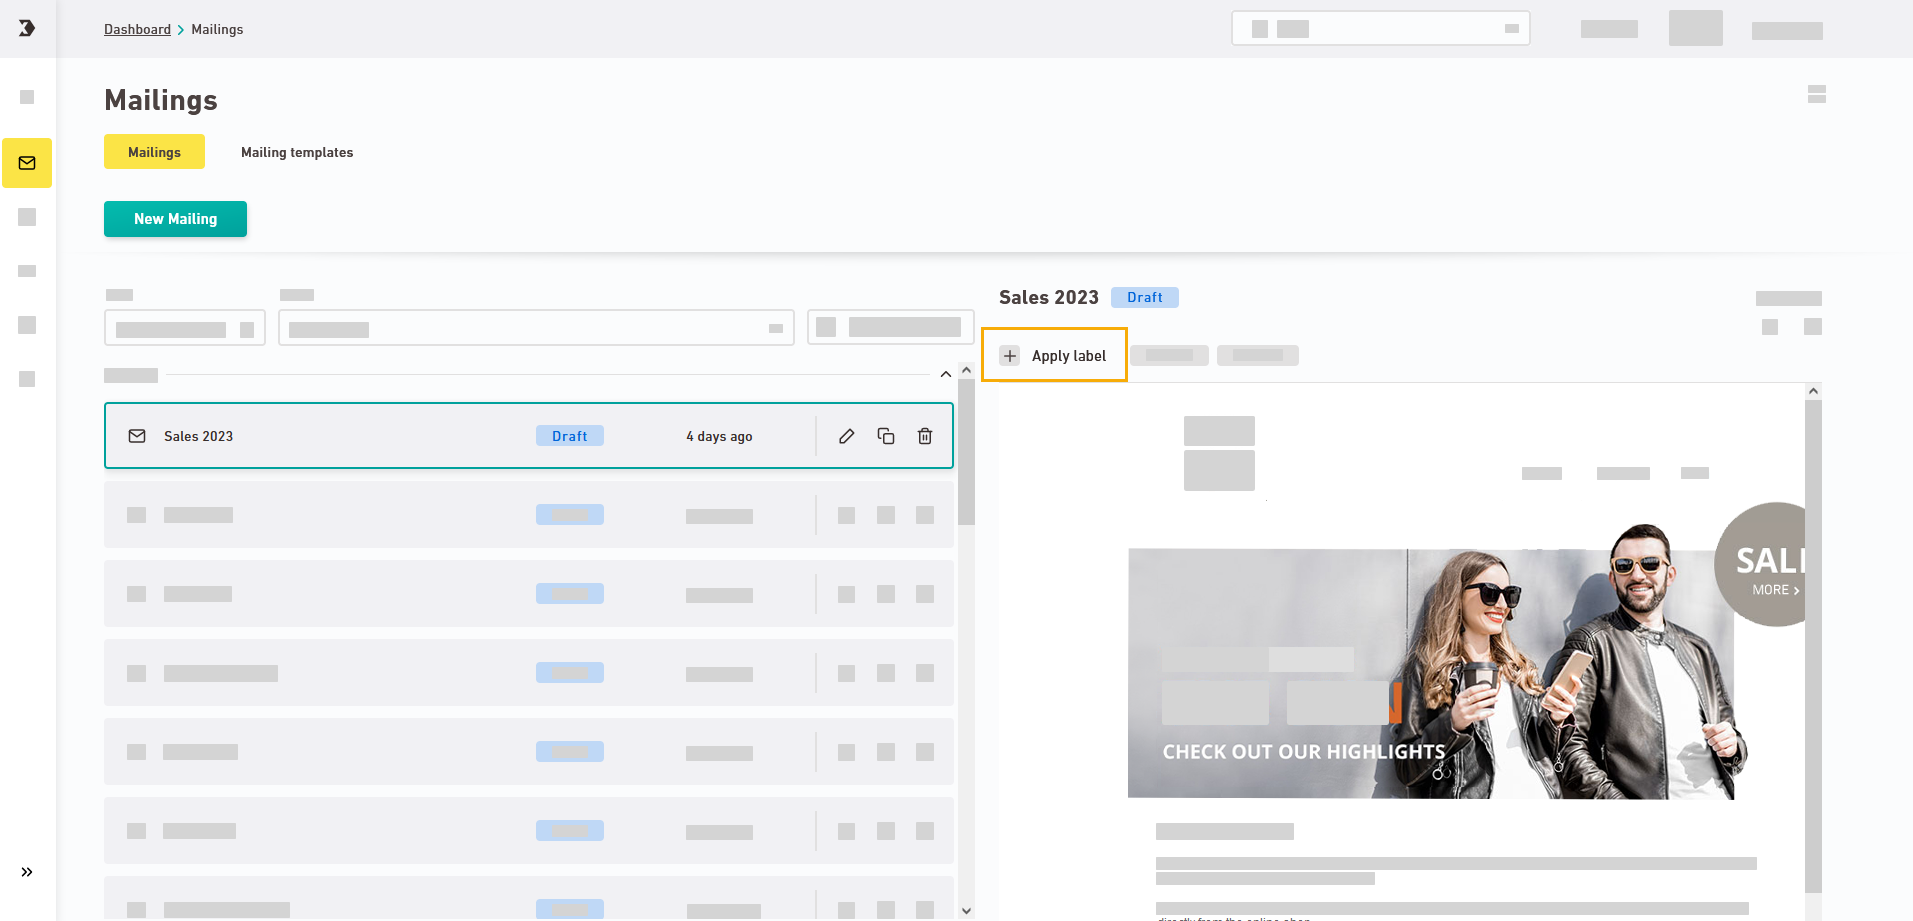
Select a mailing by single-clicking on it.
-
Add label
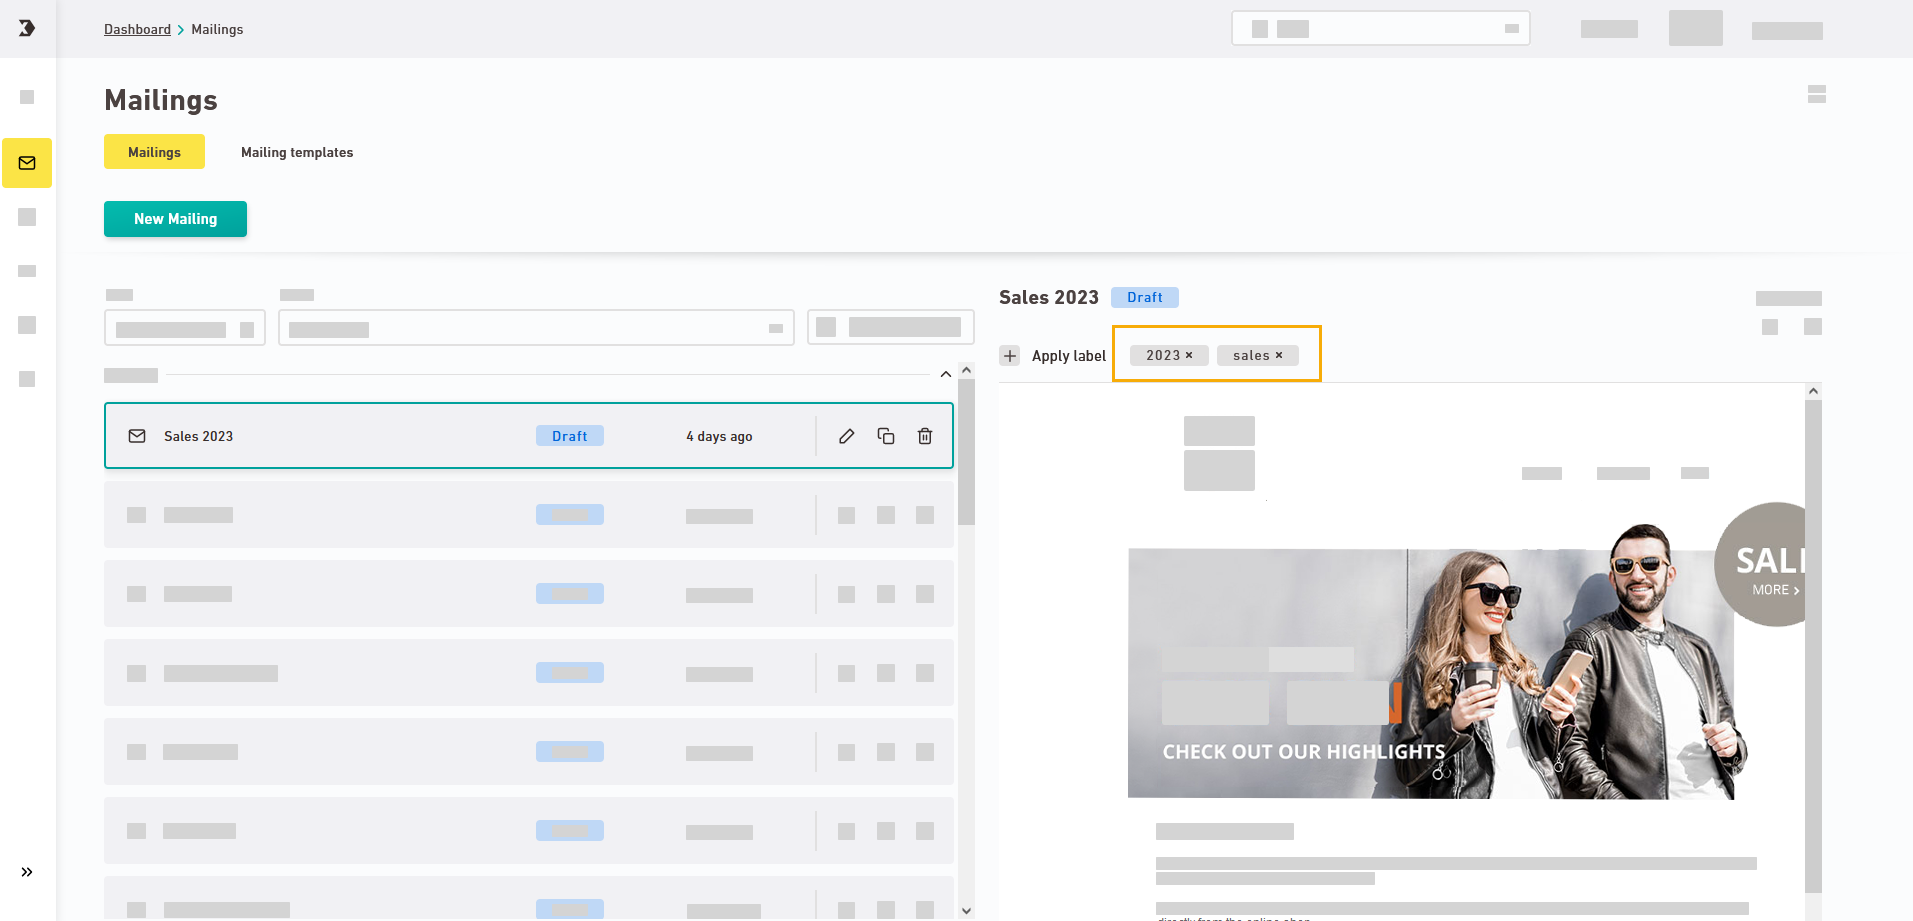
Set labels for your selected mailing by clicking "Add label."
Labels apply to every mailing status: Labels will be applied to every status of your mailing. If there is a draft and an approved version of your mailing, you will set the label for both statuses ("Draft," "Approved").

You can also see labels that have already been assigned to your mailing.

For more information about labels in the mailing overview, see our video:
-
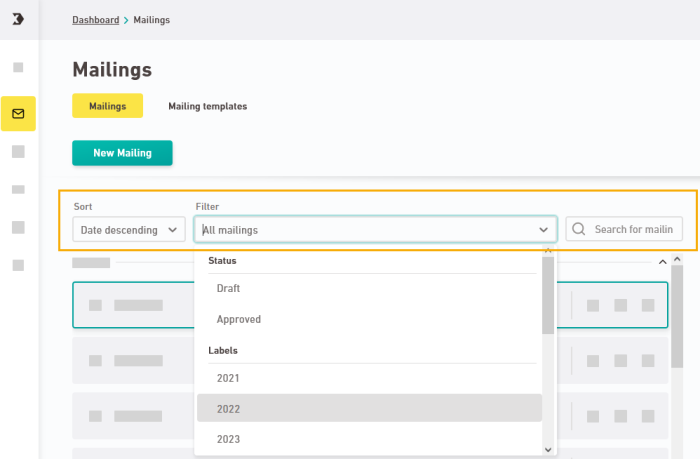
Sort, filter, and search mailings
You can sort mailings by date or name and filter them by status ("Draft," "Approved") or label.
You can also use the free text search field to search your mailings, so you will always have all mailings at hand, even if you have a large number of them.
For more information on filtering, sorting, and searching the mailing overview, see our video:

- You have added a label to a mailing. You have sorted, filtered, and searched your mailing overview.
Related topics
- To learn how to delete, rename, or merge labels, see: Labels
